
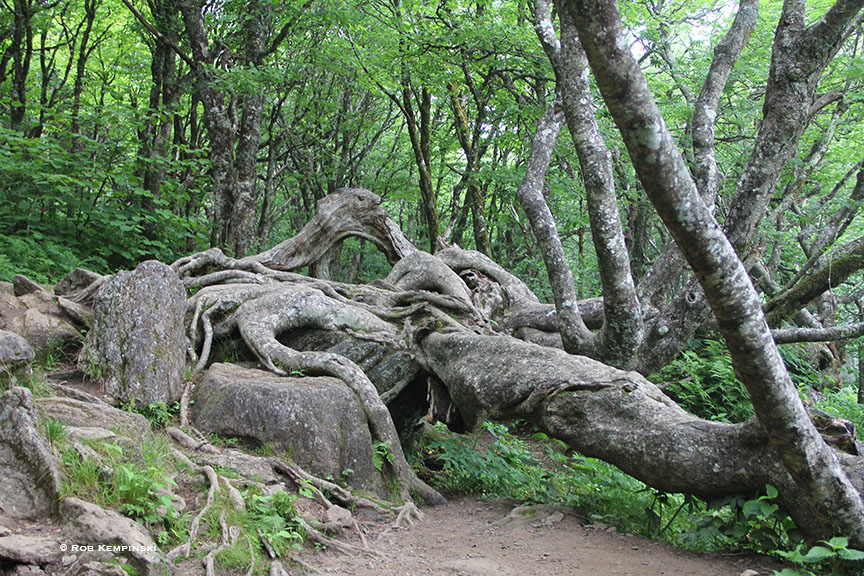
Lurking under the soil hidden from view are the amazing root structures of a tree. And while roots silently do their job of up-taking nutrients and water, they occasionally show themselves. Surface roots start the root mass. We see them poking into the forest floor with old leaves and moss snuggling against them. There are occasions where the roots below the surface reveal their intricate majesty. Along river banks, or mountain sides, or on an ocean coast, or a tree upturned by a storm, gnarly roots sometimes appear without their soil. In these cases erosion has removed the soil from the roots initially created by the tree. Yet the trees didn’t give up. They made more roots and went on growing. The exposed roots then extended, thickened and even developed bark. Often they retained the contorted shape that nature originally bestowed upon them.
When bonsai-ists try to mimic that happenstance they create the exposed root style. It is an interesting style as it captures the random, fractal nature of trees without much effort. And it gives viewers an infrequent look at the hidden workings of a tree while also being stylish.
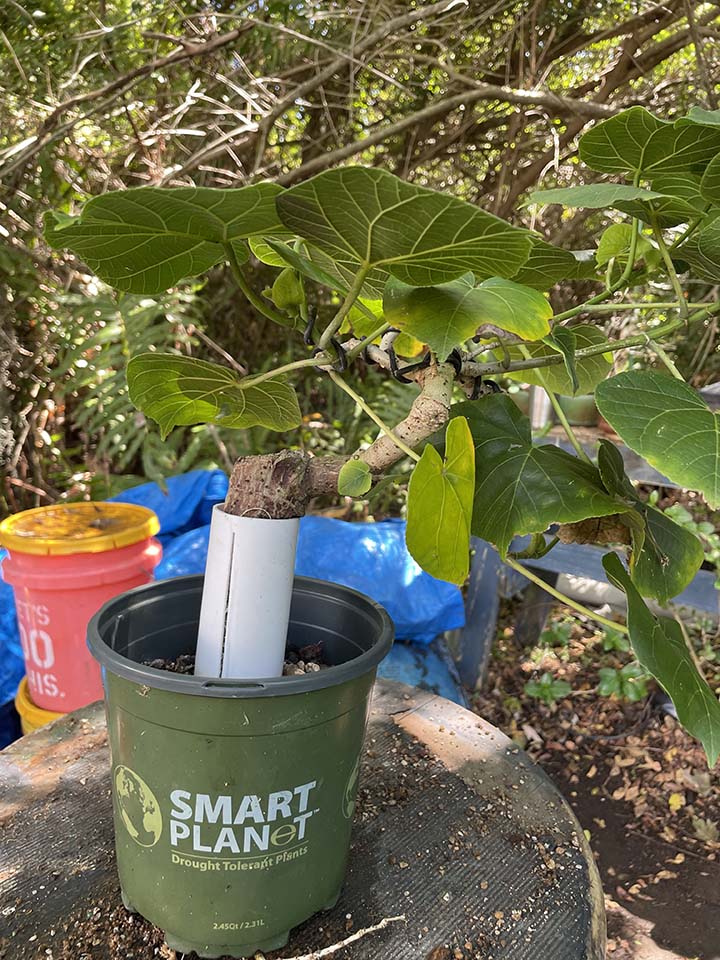
Making an Exposed Root Bonsai – Here is a technique well suited for creating interesting exposed root trees. Let’s start with a tree species that makes roots very quickly, the Sea Hibiscus, Talipariti tiliaceum (a fairly new latin name). The technique entails taking a rooted cutting and growing it in a tube that elevates the cutting above the main volume of the pot. I used a PVC tube (any diameter pipe over 1.5 inches is acceptable). Each pipe section is about 9 inches long although one could vary the length. Split the tube along its length using a band saw (any kind of saw could suffice.) Fill the tube with the roots that currently exist then pack the gap with loose soil. Next I partially insert the tube with soil into a larger container filled with soil for the roots to eventually grow into. The pipe protrudes above the larger container. The idea is the roots will extend down through the pipe into the soil of the larger pot and grow wild. The roots inside the tube will eventually be the exposed roots. Note, I don’t worry about the large leaves at this time. In fact, the larger the leaves the better as the big leaves will make roots quicker. You can start initial stying of the cutting above the pipe but don’t trim too much over time as you need foliage for the roots to grow vigorously.
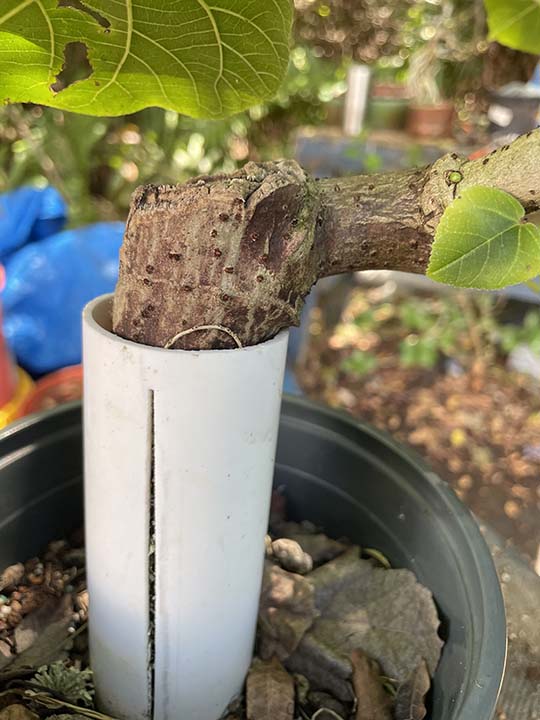
I almost completely split the tube prior to making the planting to make it easier to remove when it’s ready for the next step. The small uncut piece connected at the top keeps the tube intact. Sometimes I add a loop of aluminum wire around the bottom of the tube to keep the split portion closed.
The first step is to cut away the PVC tube.
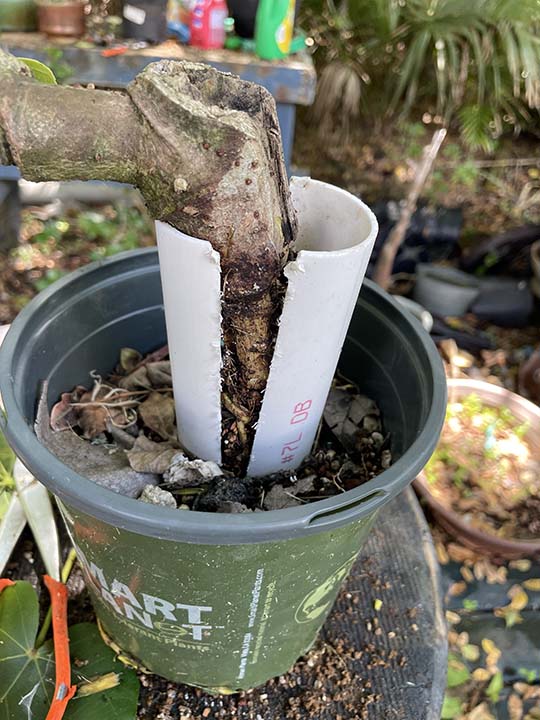
Check the roots at this point. If they haven’t developed sufficiently then either close up the tube with some wire and let it grow another year, or perhaps add some soil with sphagnum moss and replace the tube with a slightly bigger tube. Let the tree grow for another year or so.
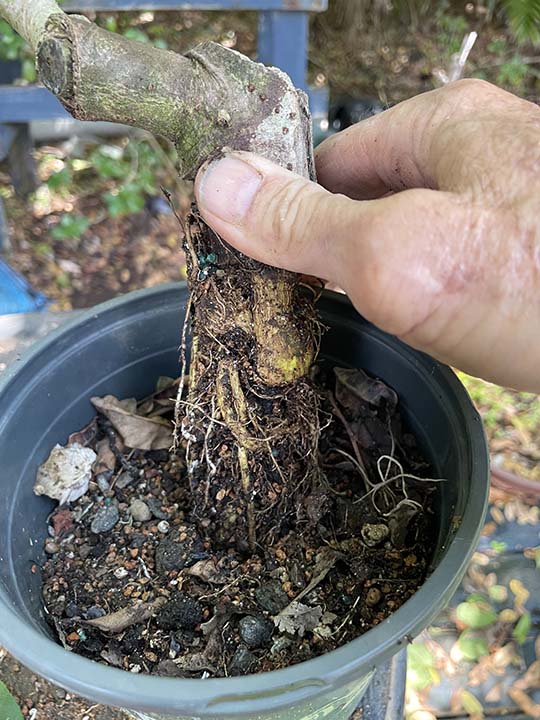
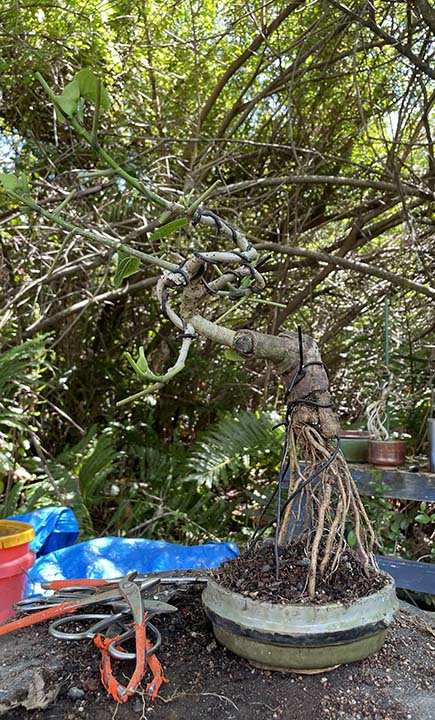
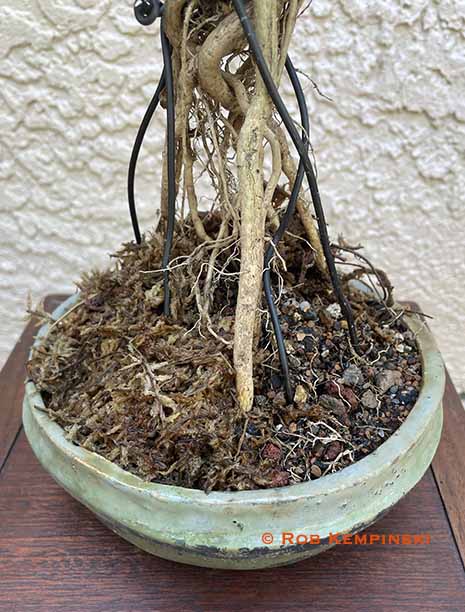
Upon removing the pipe the roots look interesting so it is time to get to work. Carefully remove the soil from the top of the roots.

I selected a round pot for this tree (one that I made on a potter’s wheel). I spread the roots to create the illusion of taper. Since the roots are not that stiff, I used some thick aluminum wire coming out of the bottom of the pot to help prop up the tree. One could use a stick or dowel for the same purpose to prop up the tree. As the sun hits the roots they grow and form bark and get stiffer. Note, I have defoliated the tree to see what the branches looked like prior to their initial styling.
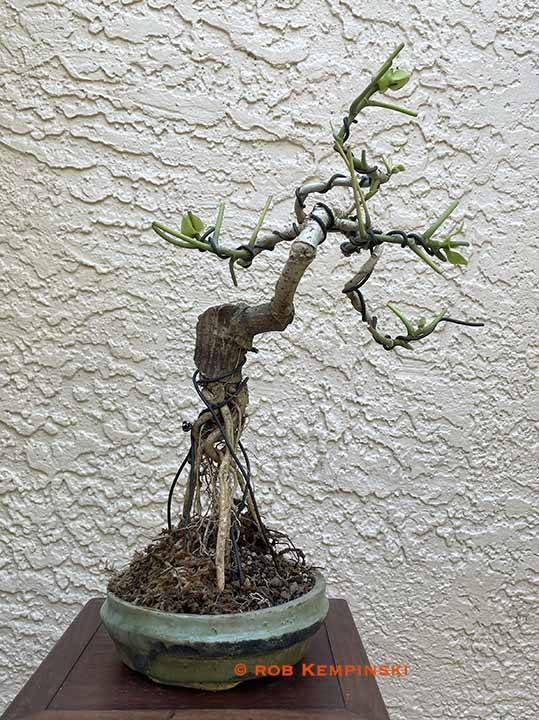
This is the tree after potting up. Reminds me of those Imperial Star trooper walkers from Star Wars (weren’t they the goofiest weapon system ever.)
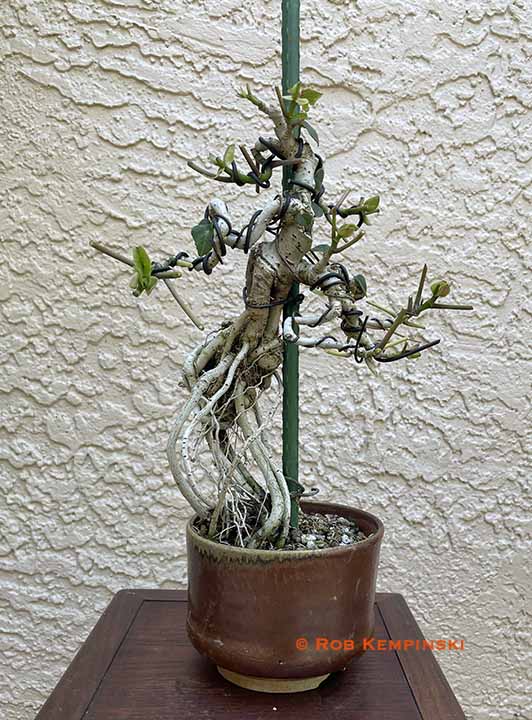
Here is one that resulted from this technique performed last year.
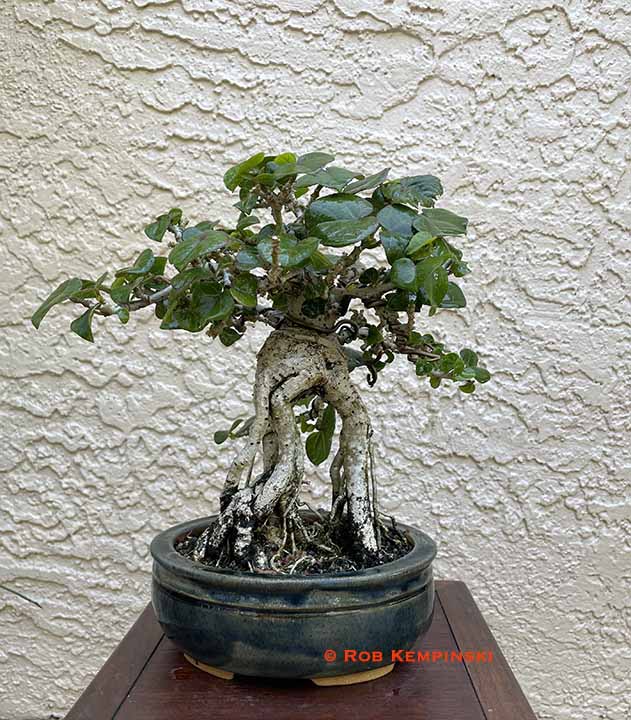
Speaking of BSOB we will likely be doing this exposed root technique as upcoming monthly program workshop.